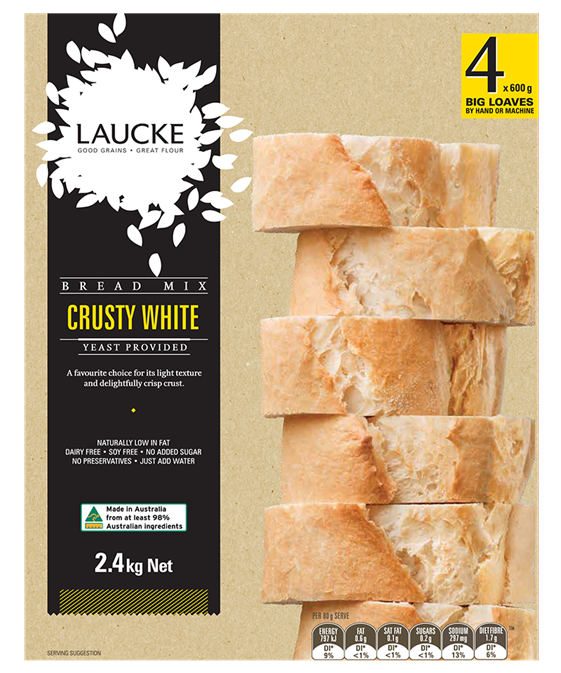
600g Strong Flour
While you can make bread from plain flour, it is much
better to use a strong flour or one blended specifically
for bread making. Many supermarkets and specialty food
stores will sell bread flour. I use the pre-packaged
Laucke brand. There are a few different blends including
Crusty White and Barossa Sourdough Rye.


I have always wanted to make fresh bread, but I have never enjoyed the kneading required to make great bread: some might say that I just like to avoid hard work! I also really like the sourdough style, but I don't have the patience to cultivate my starter. And then I found "no-knead" bread.
I first found "no-knead" bread on the episode of Paul Hollywood City Bakes – New York. Paul interviewed Jim Lahey of Sullivan Street Bakery who demonstrated his technique. You can find the episode on SBS On Demand if you have a subscription. You can see Jim Lahey of the Sullivan Street Bakery in New York in an older video showing his method.
I had everything I needed at home so I gave the method a go. It worked amazingly well! This early success and with the encouragement of my family, I made a second, then a third and suddenly, my bread became a request. While I had no failures, there were many things that I learnt about the dough and the bread. These subtle changes have led me to adapt and slightly modify the techniques developed by Jim Lahey.
Ingredients & Equipment
| Product | Description |
|---|---|
|
|

|
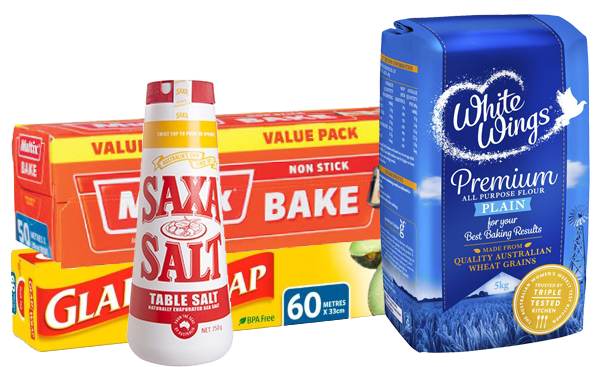
2 Cups Tepid Water |
|
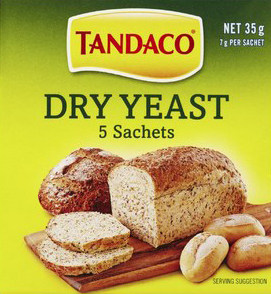
1 tsp Yeast |

|
Canola Oil Spray |
|
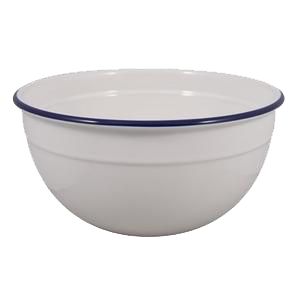
Mixing Bowl |
|
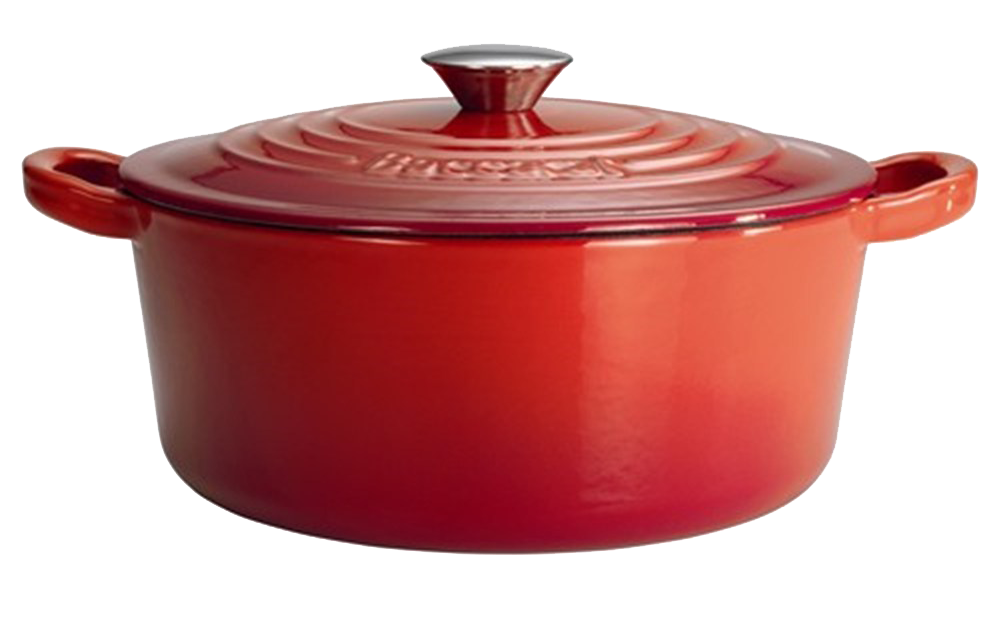
Cast Iron Pot and Lid |
|
Some Other Items |
Let's Make Bread!
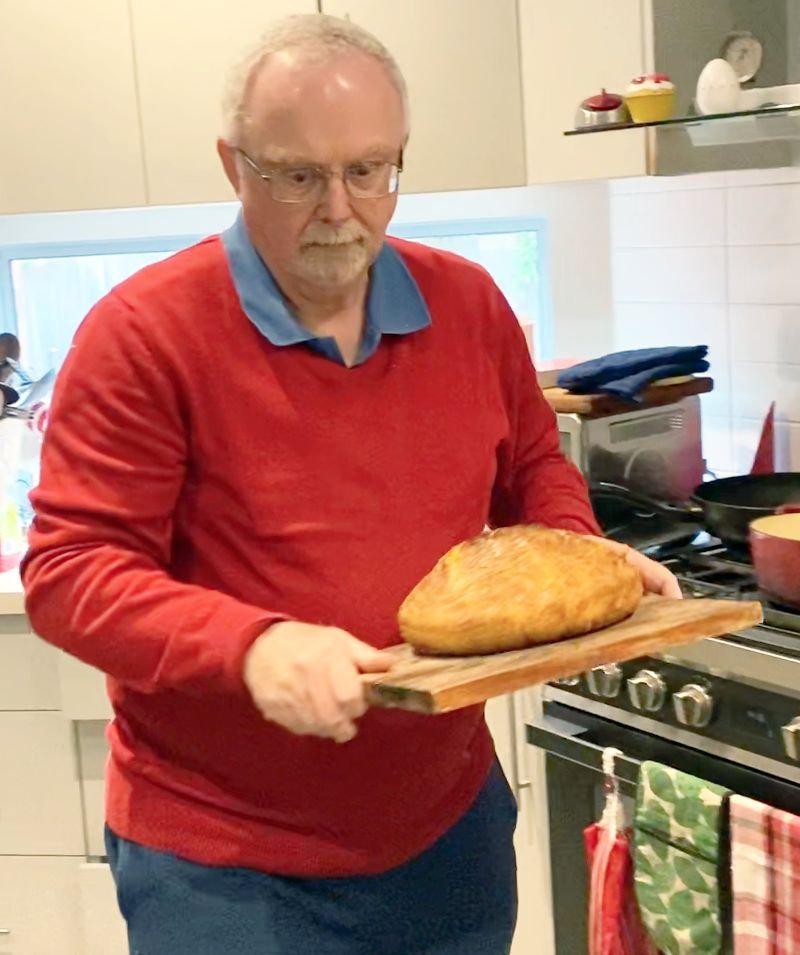
Mal shows how he makes his bread in a number of easy-to-follow steps.
Method
It is best to watch the video. As a reminder, the steps are:
- Make the dough
Mix 600g bread flour in the bowl with a teaspoon of yeast, a teaspoon of salt and 1¾ cups of tepid water. Mix the dough until it forms a ball and is not too dry, but definitely not wet. Add extra water very slowly if needed. Cover the bowl with cling film.
Let the dough sit at room temperature for 18 hours. If you mix the dough at 1pm, it will finish proving at 7am and be ready for the next step. - Shape the dough
Tip the dough out onto a lightly floured board. Gently coat the dough with the flour and tuck the edges under to form a smooth ball. The dough should feel elastic.
Wash and dry your bowl and spray the indise of the bowl with canola oil. Gently lift the dough up and place into the bowl. Cover the bowl and then let the dough prove for two more hours until doubled in size. - Bake
Preheat your oven with the cast iron pot and lid to 225C (fan-forced). When the oven reaches the correct temperature, remove the pot and spray the inside with canola oil. Take your dough and gently tip it into the pot. Cover and put it back in the oven to bake for 60 minutes. At the end of the bake, remove the lid and continue baking with the pot for 5 minutes more. Keep baking in 5 minute intervals until you get the colour you want. (I usually use just one 5 minute interval. - Finish and cool
Remove the pot from the oven and carefully remove the loaf from the pot. It should be the same colour all over and not have any burnt spots. When you knock on the bottom it should sound hollow. Cool and then eat.
Comments
Kim - Port Melbourne 03-Aug-2020
Unlike Mal, I did have a couple of failed attempts but following his method, including timing, technique and ingredients resulted in a ‘magnificent’ loaf of bread. I am no baker but this is fun!